Дабненько к вам не заглядывал.
Хочю поделитса с вами своим творением...но с начяла покажу вам с чего всё начялось.
Когдато было дело и я отмоделировал и отлил курок для арбалета. Просто заяц...ничего особого.
Но в етот раз я решил немного вывернуть ручки и замутить деталь похлеще - Так кaк один мой арбалетный товарищ чюток помешан на Арлекинах, то я решил ему сделать вот такую вот игрушку.
As the title suggests I've been casting things between heartbeats during the holidays.
This story is about a component for a trigger I'm building for a friend. The trigger assembly itself is one of a set of prototypes I've been working on for my upcoming production line of triggers to order, which will be sent out to select few builders for the final testing. So, sorry guys, I'll be keeping a lid on those for now and we'll focus on the cool *little* bits of the puzzle. Wink
Everything begins with a wax pattern. Be it a prosthetic crown I'm making, a ring for a girl, or a trigger for a crossbow - this is where things begin if you want to get crazy with detail.
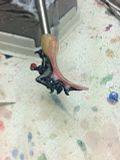
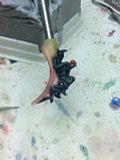
Next things get sprued up(sprues are added) basically creating passages for the molten metal to enter and fill the mold.
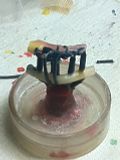
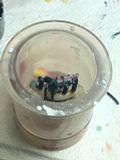
I'm using the *ringless* system as opposed to the commonly employed
ringed system where a metal ring(well actually tube) is used to house
the invested pattern throughout the casting process. Ringless...hence
the plastic mold ring, which is removed once the investment hardens.
So the investment...
I use the best stuff I can get because normally I cast prosthetics which are supposed to be of an amazingly precise fit - cast quality is only going to be as good as the mold, and the mold is good.(if you're interested I can go into more detail on what materials I use and can explain the tricks of working with them).
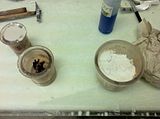
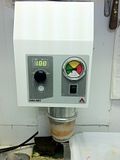
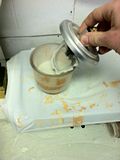
some older pictures since I didn't have an assistant this time...
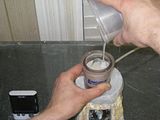
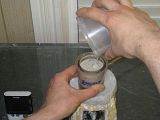
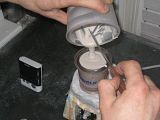
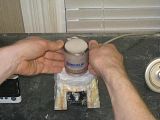
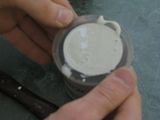
Bench set the little guy for 20 minutes (as instructions recommend...no more...no less)
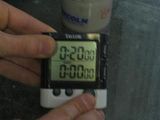
And once ready - remove the plastic ring and place in the burnout oven for another specific time period at a specific temperature.
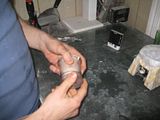
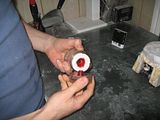
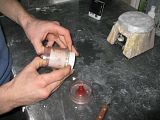
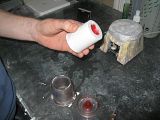
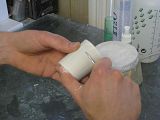
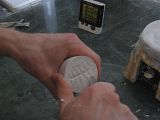
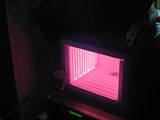
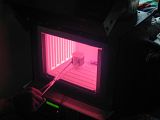
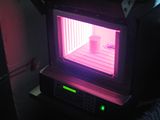
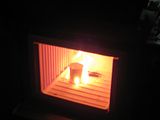
And then we cast.
 http://www.youtube.com/watch?v=qYM7Qs4p ... e=youtu.be
Once the hot metal is in the mold...
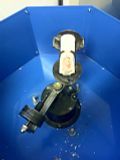
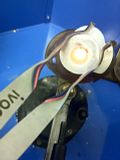
I set the mold aside to cool for about 30 minutes (common practice is to just drop it in the tank of water, as seen with the ringed casting methods which is the only way of getting the cast part out....>>> ringless method doesn't need any dipping since there is no metal ring to interfere with de-vesting and thus allows for the mold to cool peacefully - resulting in better quality of cast)
All that's left is...turn off the furnace, shut off the gas valves, yata yata yata...the thing is cool and...
I crack it open with a little hammer or whatever is on hand

...
...again old pictures because I didn't have an assistant.
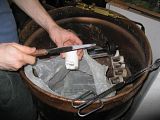
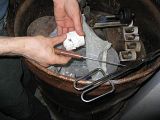
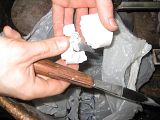
Result - a nice little casting that gets further cleaned off in the sand blaster till all or most of the investment is gone (depending on alloy and whether I will be reusing the button - this time it's just stainless steel, so no bother)
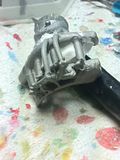
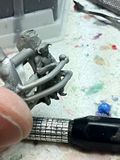
Next on the list is cutting off the sprues and we have a nice raw casting. :cheers:
While it still looks very rough and needs to be cleaned up, you can see how detailed the damn thing can be if everything is done right.
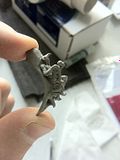
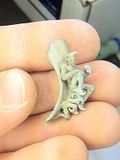
I even managed to captured the eye sockets/nose/&teeth on the scull that the harlequin is holding! Don't ask

, just think of him as a very Shakespearean harlequin:)
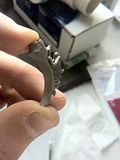
You might think I'm crazy when I say this, but I think I could have done better. And I know I could, just this time my eyes were tired and I didn't have the balls to swing the head of the microscope over the workstation to tdo the face on the harlequin.

...next time.

For now I'll try and see what I can get out of this little thing by engraving it.
Hope you enjoyed this episode of show and tell...and Wish me luck! ...Cz that's not all.


 Ivo
IvoНу и конечно готобое изделие.
Жду вашу критику...а может даже аплодиcменты.


